
Calibration Belt
Tuning steps and processes after everything is working.
Gantry Racking & Squaring
All Printers: See Nero’s gantry racking video.
Belt Tension Guide for Trident AWD
Maintaining the correct belt tension is critical for preventing mechanical issues, premature wear, and print quality problems. Both too-tight and too-loose belts can negatively impact performance.
A/B Belts Tension Adjustment
Follow these steps to correctly adjust the belt tension for your Trident AWD printer:
Positioning: Move your X extrusion forwards until the X/Y idler centers are 150mm from the front idler centers.
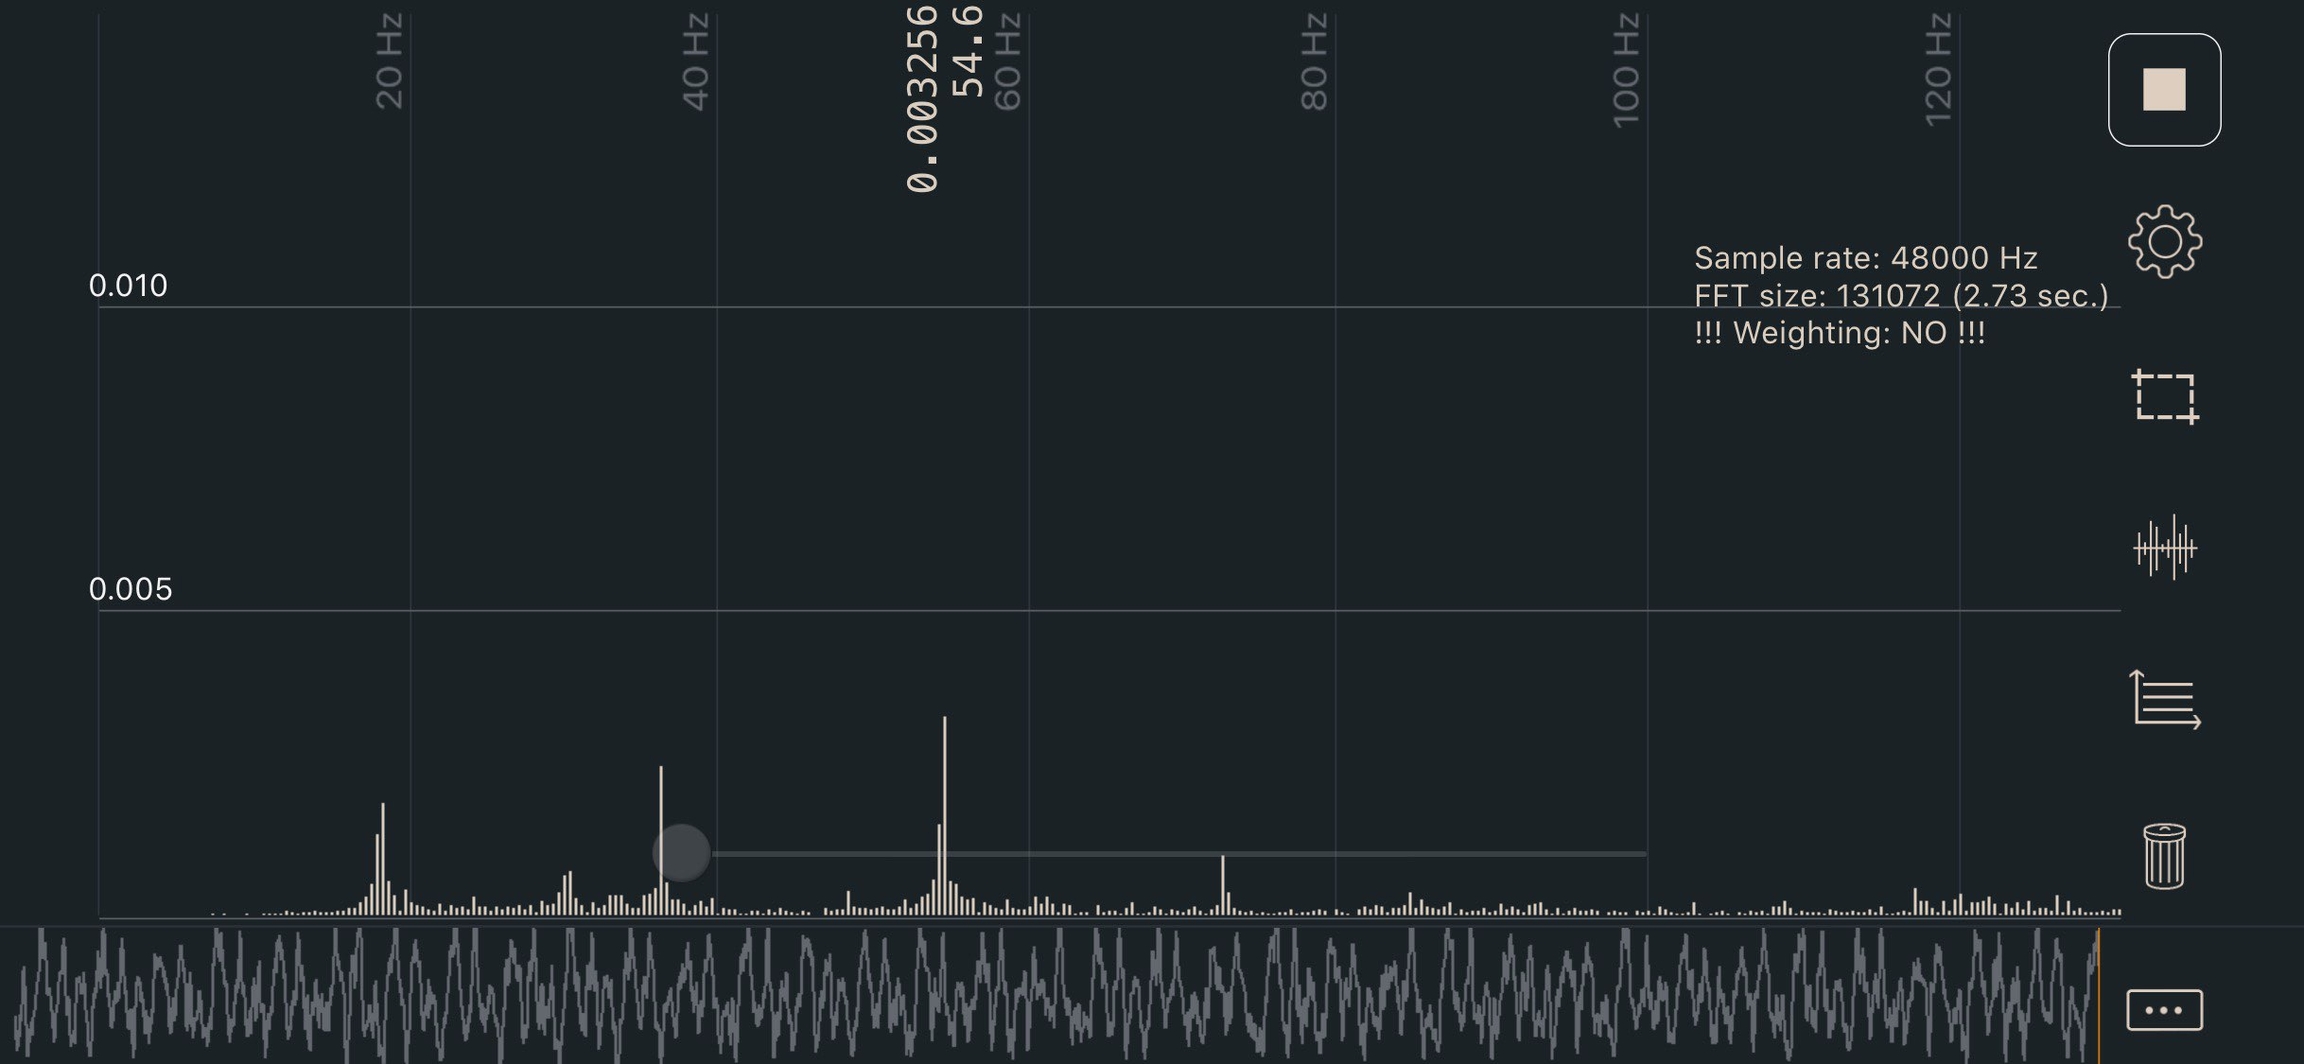
Measure Frequency: Pluck the 150mm section of the belt and use one of the listed apps to measure the frequency.
Adjust Tensions: Adjust the tensions until the lowest frequency registers approximately 150Hz.
Note: The A/B belt tensions can affect each other. Tightening one belt will also tighten the other. You may need to go back and forth adjusting each belt until the tensions are equal.
Re-check: Move your X extrusion back by a few centimeters and then forward again. Re-check the belt tensions to ensure accuracy.
Important Notes:
Different Belt Widths: The frequency values for 6mm belts and 9mm belts are not interchangeable.
For a 9mm belt, 110Hz corresponds to roughly 3.2lb of belt tension. A higher frequency of 150Hz equates to about 6lb of tension, which works well for double sheared steppers used in the Trident AWD model.
Ensuring that your belts are properly tensioned will enhance the performance and longevity of your Trident AWD printer, especially when utilizing the robust design of double sheared steppers.
Apps
iOS: Sound Spectrum Analysis
Android: Spectroid
Both: Gates Carbon Drive (use the “motorcycle” option)
This app shows a single frequency rather than a graph. It’s more difficult to get a good reading, but easier to interpret the result.
Sound Spectrum Analysis (iOS)
Last updated