> For the complete documentation index, see [llms.txt](https://docs.siboor.com/llms.txt). Markdown versions of documentation pages are available by appending `.md` to page URLs; this page is available as [Markdown](https://docs.siboor.com/e3-sw-conversion/tuning-guides/calibration-belt.md).
# Calibration Belt
### Belt Tension
Belts that are too tight (or too loose) can cause mechanical issues, premature wear and print quality issues.
#### A/B Belts
**Watch** [**this video**](https://user-images.githubusercontent.com/54855101/163674612-930d737d-0ab3-4056-a2b9-def2939db61f.mp4) **for a demonstration.**
1. Move your X extrusion forwards until the X/Y idler centers are 150mm from the front idler centers.
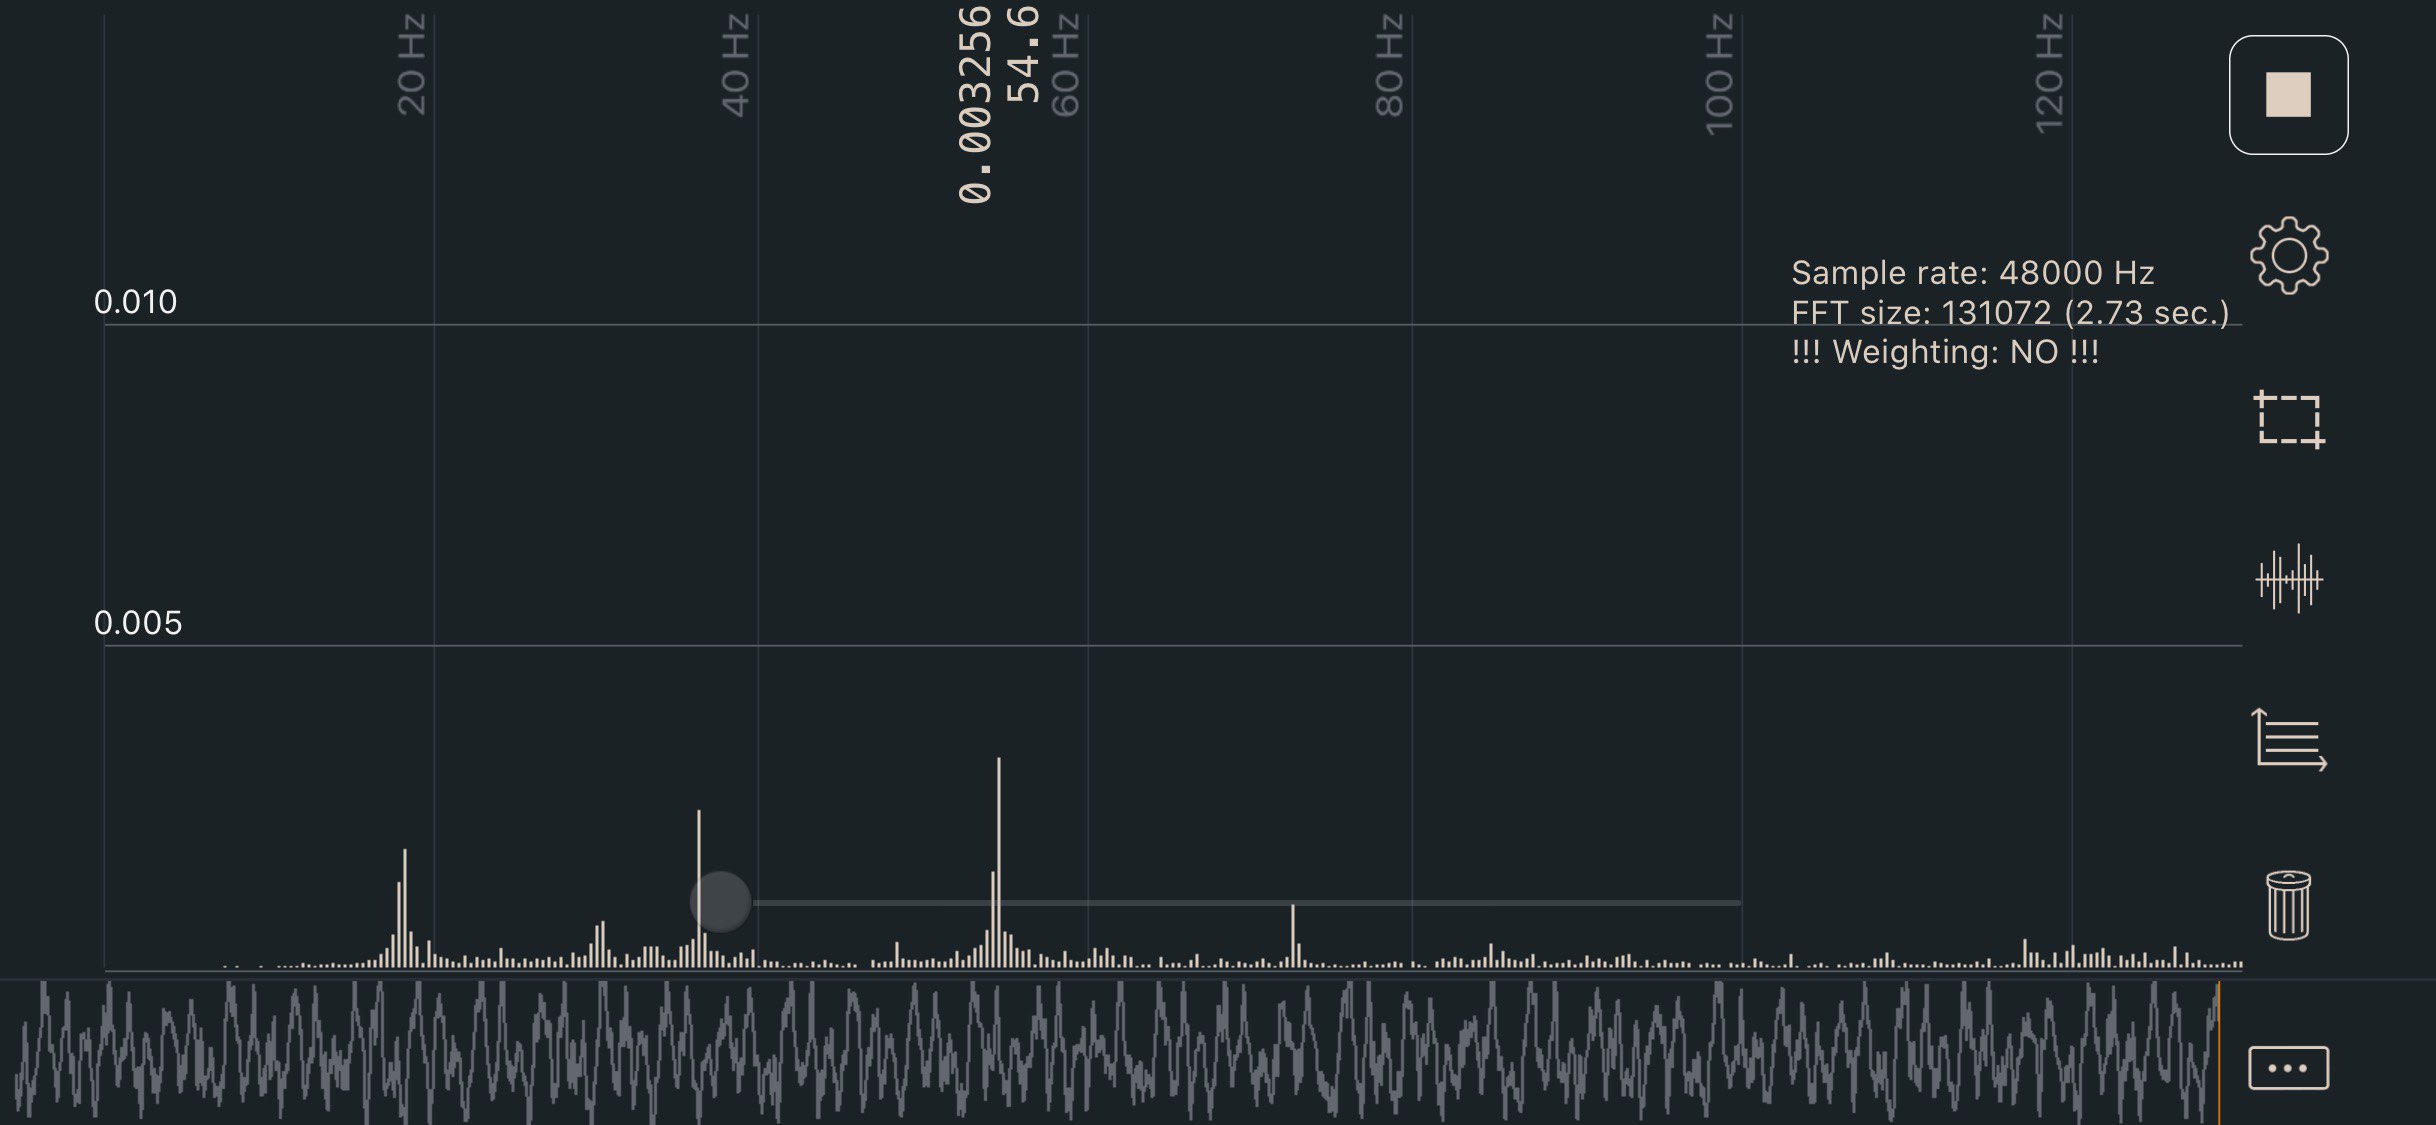
2. Pluck the 150mm section of belt and measure the frequency with one of the apps listed below.
3. Adjust the tensions until the lowest frequency in your plot registers approximately 110Hz.
* The A/B belt tensions can affect each other. Tightening one will also tighten the other. Go back and forth adjusting each until they are equal.
4. Move your X extrusion back at least a few centimeters and then back again. Re-check your tensions.
110hz equals roughly 2lb of belt tension here, which is on the lower end of the range. This should be a good starting point without stretching your belts too tight.
#### Apps
* iOS: Sound Spectrum Analysis
* Android: Spectroid
* Both: Gates Carbon Drive *(use the “motorcycle” option)*
* This app shows a single frequency rather than a graph. It’s more difficult to get a good reading, but easier to interpret the result.
**Sound Spectrum Analysis (iOS)**
---
# Agent Instructions
This documentation is published with GitBook. GitBook is the documentation platform designed so that both humans and AI agents can read, navigate, and reason over technical content effectively. Learn more at gitbook.com.
## Querying This Documentation
If you need additional information that is not directly available in this page, you can query the documentation dynamically by asking a question.
Perform an HTTP GET request on the current page URL with the `ask` query parameter, and the optional `goal` query parameter:
```
GET https://docs.siboor.com/e3-sw-conversion/tuning-guides/calibration-belt.md?ask=&goal=
```
`ask` is the immediate question: it should be specific, self-contained, and written in natural language.
`goal` is optional and describes the broader end goal you are ultimately trying to accomplish on behalf of the user. GitBook uses it to tailor the answer towards what is most useful for that goal.
The response will contain a direct answer to the question and relevant excerpts and sources from the documentation.
Use this mechanism when the answer is not explicitly present in the current page, you need clarification or additional context, or you want to retrieve related documentation sections.